How to Organize Bar Cart Layers for Function and Beauty
This post may contain affiliate links. Please see my disclosure policy for details.
I used to treat my bar cart like a storage unit on wheels. Everything I owned related to drinking—every bottle, every glass, every dusty souvenir shot glass—was crammed onto its three tiers.
It was functional, in the sense that the items were there, but it was an absolute disaster to look at. To grab the gin, I had to move three other bottles and a stack of napkins. It was clumsy, chaotic, and completely joyless.
The moment it clicked for me was when I started thinking about my cart not as a single piece of furniture, but as three distinct landscapes.

Each layer—the top, the middle, and the bottom—has its own job to do. When you assign a purpose to each shelf, something magical happens. The chaos turns into composition. The clutter transforms into a curated story.
Organizing your bar cart by layers is the secret to achieving that effortlessly chic look you see in design magazines.
It’s a system that balances beauty with practicality, ensuring your cart is always ready for a photo op and for making a spontaneous cocktail. Let’s break it down, shelf by shelf.
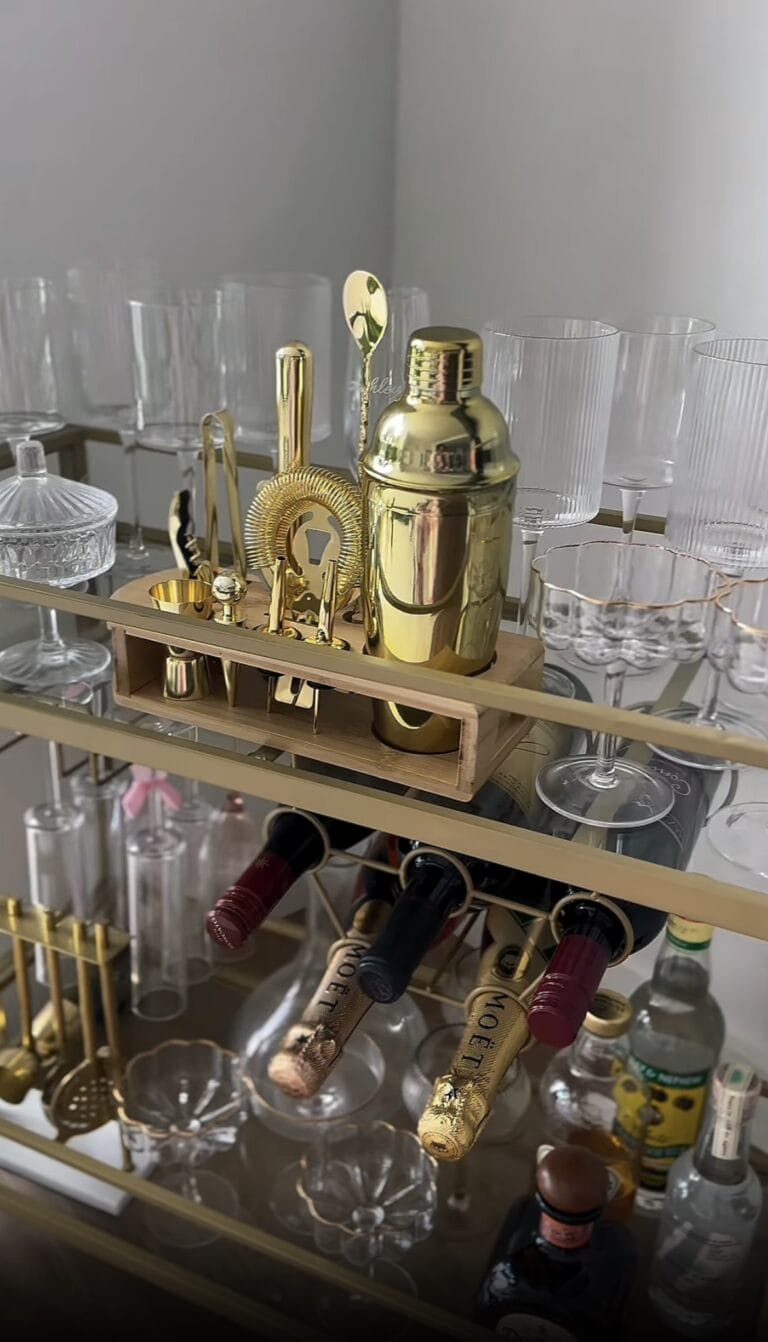
The Top Shelf: Your Stage and Workstation
Think of the top shelf as the main event. This is the most visible part of your cart, the surface that catches the eye first. It’s also your primary workspace. This layer needs to be both stunningly beautiful and ruthlessly functional.

What Goes Here:
- The Most-Used Tools: This is where you keep the items you reach for constantly. Your shaker, your jigger, and your bar spoon should live here. Don’t hide them in a drawer; display them in a heavy glass or a beautiful ceramic vessel. It keeps them within arm’s reach and adds a sculptural element.
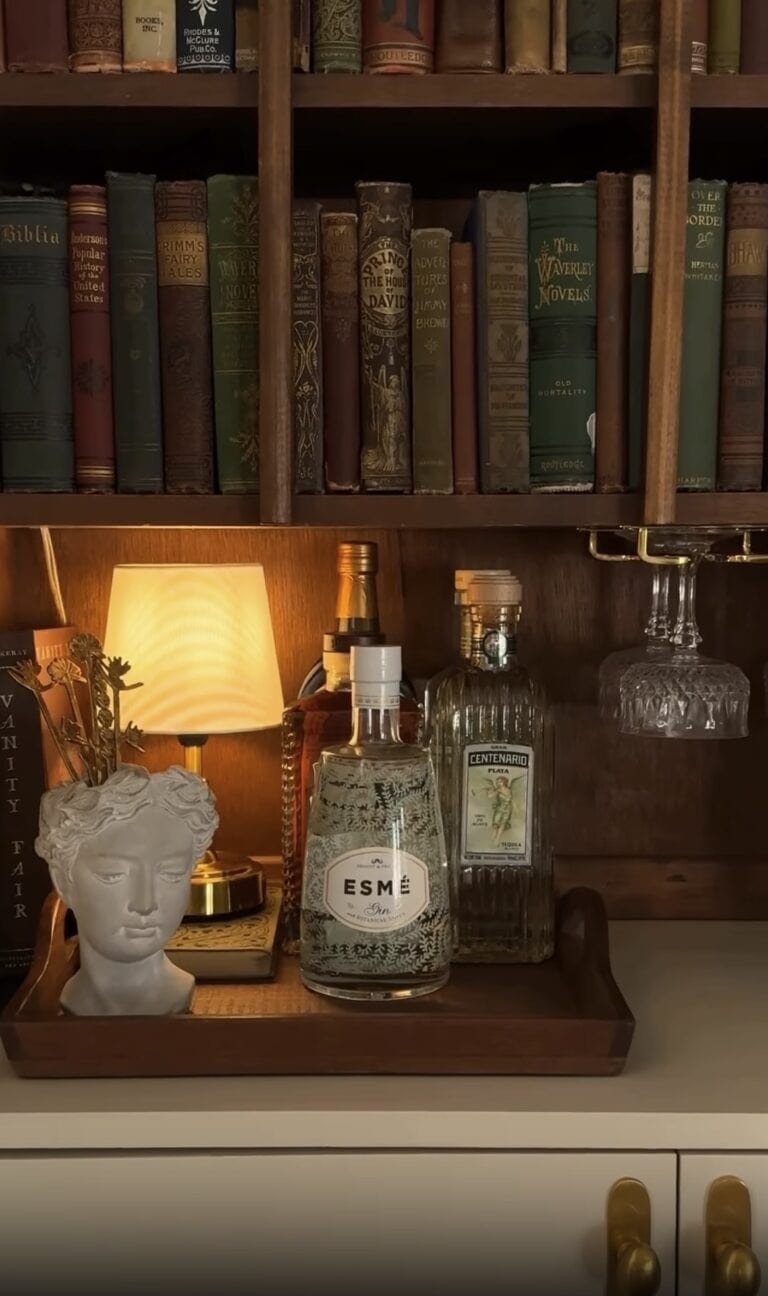
- The Hero Bottle: You don’t need a crowd of bottles on top. Choose one or two of your absolute prettiest bottles—the ones with an interesting shape or a gorgeous label—to be the star. For me, it’s usually a bottle of gin with a floral design or a handsome amber bourbon.
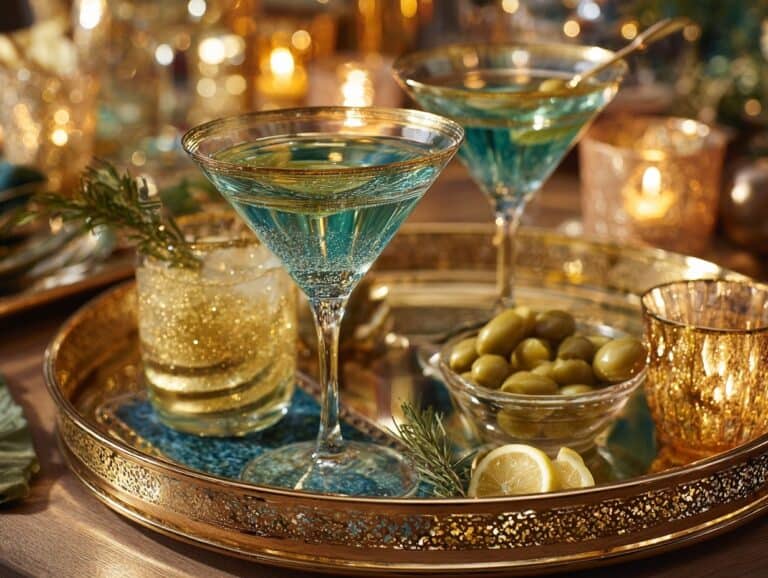
- The Garnish Station: A small, beautiful bowl filled with fresh lemons or limes is non-negotiable. It adds a pop of natural color and signals that you’re always ready to host. Plus, it smells great.
- An Ice Bucket: Even if you fill it with ice from your freezer, a stylish ice bucket adds necessary visual weight and shine. When not in use, you can even store your tools inside it.
The Golden Rule:
Leave some empty space! The top shelf needs to have enough clear surface area to actually mix a drink. If you have to move five things just to put your shaker down, you’ve over-cluttered. Negative space is a design element. Use it.
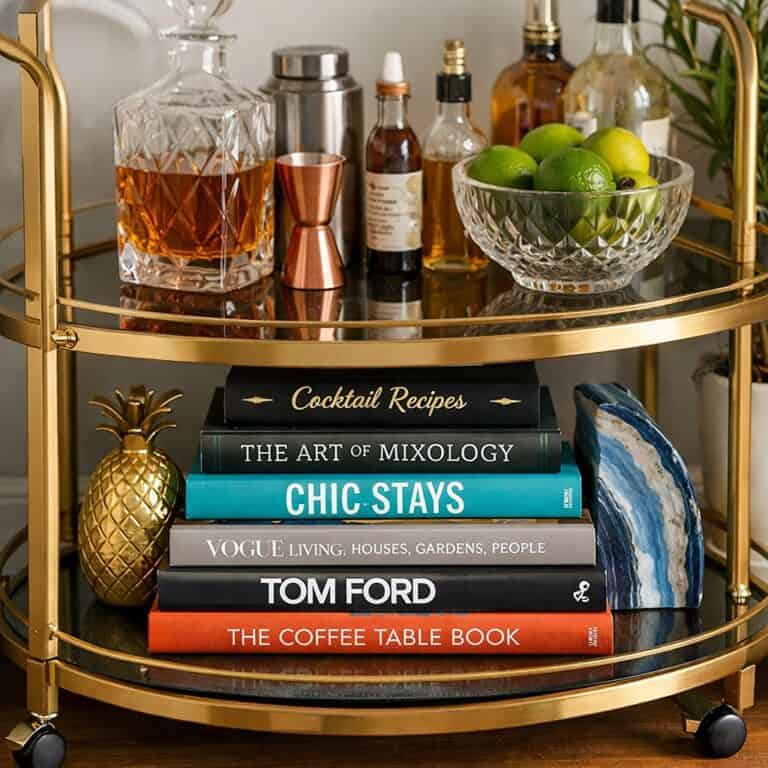
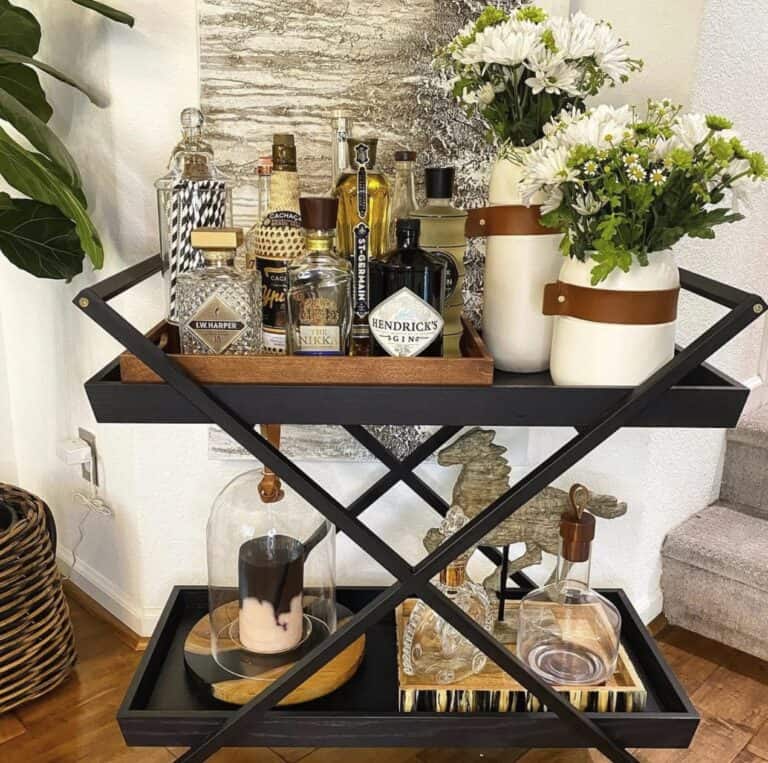
The Middle Shelf: The Supporting Cast
If the top shelf is the star, the middle shelf is the talented supporting cast. This layer is all about glassware and secondary bottles. It’s still highly visible, so aesthetics matter, but you have a bit more freedom to focus on organization.

What Goes Here:
- Your Go-To Glassware: This is the perfect home for the glasses you use most often. A set of four to six rocks glasses or a few elegant coupes looks fantastic here. Arrange them in neat rows or a symmetrical grouping.
- Secondary Spirits & Mixers: Your top shelf has the hero bottle; the middle shelf can hold the rest of your “starting lineup.” This includes your favorite vermouth, bitters, or other essential liqueurs. I like to group them by type.
- A Small Decor Moment: Since this shelf is less of a workspace, you can add a small decorative item. A tiny plant, a stack of nice coasters, or a small framed art print leaned against the back can add personality without getting in the way.
Balancing the Weight:
The middle shelf is your opportunity to balance the visual weight of the cart. If you have a tall, heavy ice bucket on the top right, place your stack of glasses on the middle left. This zig-zag placement draws the eye down and across the cart, creating a more dynamic composition.
The Bottom Shelf: The Foundation and Library
The bottom shelf is the workhorse. It’s the least visible layer, making it the perfect spot for your heaviest items, bulk storage, and things that are useful but maybe not as visually stunning. Think of it as the stylish, functional basement of your bar cart.

What Goes Here:
- Heavy & Tall Bottles: This is the safest place for your reserve wine bottles, large liquor bottles, and heavy jugs of juice or tonic water. Placing the weight at the bottom makes the cart more stable and less likely to tip.
- Bulk Glassware: If you have extra wine glasses or a full set of highballs that don’t fit on the middle shelf, the bottom is a great place for them.
- Books: I am a huge advocate for using books in bar cart styling. A horizontal stack of two or three beautiful cocktail recipe books or travel books adds color, fills empty space, and provides a platform to elevate other items.
- A Tray or Basket: A shallow basket or tray is perfect for corralling odd-shaped items like extra napkins, a corkscrew, or a collection of bitters. It keeps the shelf from looking like a jumble of small, forgotten objects.
The Trick to Making it Look Good:
Just because it’s the bottom shelf doesn’t mean it can be a mess. The key is to create structure. Use books to create different levels. Line up your wine bottles neatly. Use a tray to contain the chaos. Even if it’s mostly storage, it should still feel intentional.
Tying It All Together
Once you’ve organized each layer, step back and look at the cart as a whole. Does it feel balanced? Is there a consistent color palette running through all three tiers?
I often use metal finishes to tie everything together. If I have a gold shaker on top, I’ll use gold-rimmed glasses in the middle and a book with a gold spine on the bottom. This repetition creates a visual thread that makes the entire cart feel like a single, cohesive piece.
Don’t be afraid to experiment. Live with an arrangement for a week. See how it feels to use it.
Is everything you need within reach? Does it make you smile when you walk past it? Your bar cart is a living part of your home. Let it evolve.
Styling is a skill, and learning how to compose objects in a pleasing way takes practice. If you’re looking for more guidance on the core principles of arrangement and design, you can find a wealth of proven bar cart styling methods to help you refine your look.