6 Steps To A DIY Mini Bar at Home
This post may contain affiliate links. Please see my disclosure policy for details.
I used to think a “home bar” was something only rich people in movies had. You know the type—mahogany walls, a globe that opens up to reveal scotch, and a butler named Jeeves standing by with a towel.
My reality was a little different. For years, my “bar” was the top of my refrigerator. To make a cocktail, I had to stand on my tiptoes, reach over the microwave, and hope I didn’t knock over a box of cereal in the process. It was tragic.
But then I had a realization. I didn’t need a spare room or a contractor to have a proper drink station. I just needed a little creativity and a free weekend.
Building a DIY mini bar is one of the most rewarding home projects you can tackle. It transitions you from “person who drinks at home” to “host who entertains.” It anchors a room.
And the best part? It doesn’t have to cost a fortune. Whether you are handy with a saw or just really good at Facebook Marketplace hacks, you can create a custom station that looks like a million bucks.
Here is how to stop dreaming about that built-in look and actually create a custom drinks station from scratch.
Step 1: Scouting the Perfect Location
Before you buy a single piece of wood or a vintage cabinet, you need to find your spot. This is where most people fail—they pick a spot that looks good but functions terribly.
I made the mistake of putting my first DIY bar in a hallway. It looked cute, but every time I tried to mix a drink during a party, I caused a traffic jam. Learn from my error.
Look for “dead zones” in your living or dining area.
- The Alcove: Do you have that weird recessed wall next to a fireplace? That is prime real estate for floating shelves and a base cabinet.
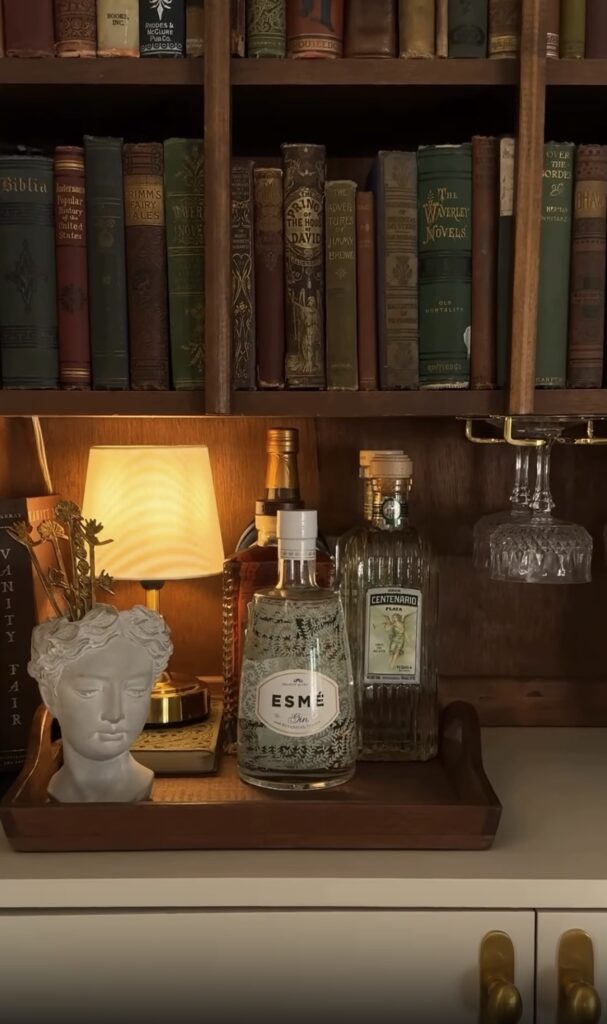
- The Bookshelf Gap: If you have a wall of bookshelves, clear out two shelves at waist height. Boom—instant recessed bar.
- The Closet Conversion: This is my favorite hack for small apartments. Take the door off a coat closet, wallpaper the inside, and install shelves. It’s a “speakeasy” you can hide with a curtain if things get messy.
>> 12 Small Bar Cart Ideas: Maximizing Style in Small Apartments
Step 2: The Base (Repurpose vs. Build)
You have two paths here: the “I own power tools” path and the “I own a paintbrush” path. Both lead to glory.
The Upcycle Method (Easy Mode)
You don’t need to build a cabinet from scratch. Go to a thrift store or estate sale and look for a sturdy piece of furniture. Dressers, sideboards, and even old TV armoires are perfect candidates.
The Floating Shelf Method (Medium Mode)
If you are tight on floor space, get off the floor. Install two or three heavy-duty floating shelves on a blank wall.
- Bottom Shelf: Make this one deeper (at least 12 inches) to serve as your “countertop” for pouring.
- Top Shelves: Use these for glassware and lighter decor.

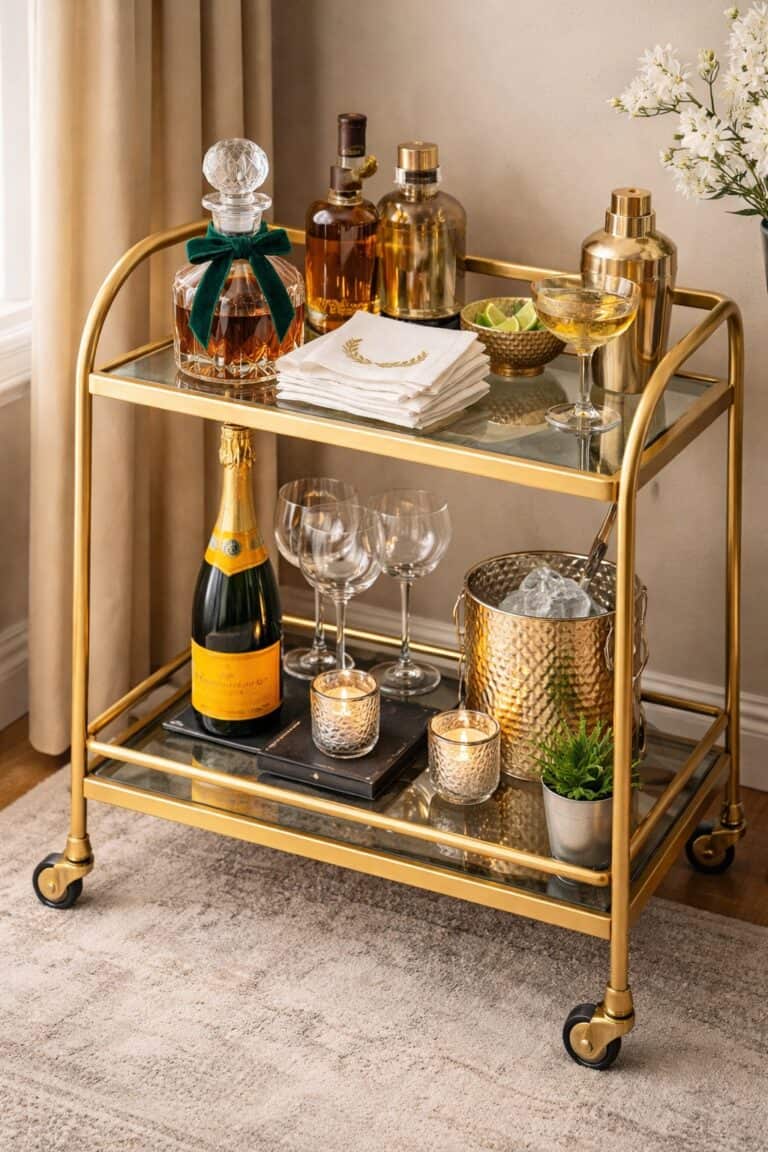
This creates an airy, modern look that doesn’t weigh down the room. Plus, you can slide a small wine fridge or basket storage underneath on the floor.
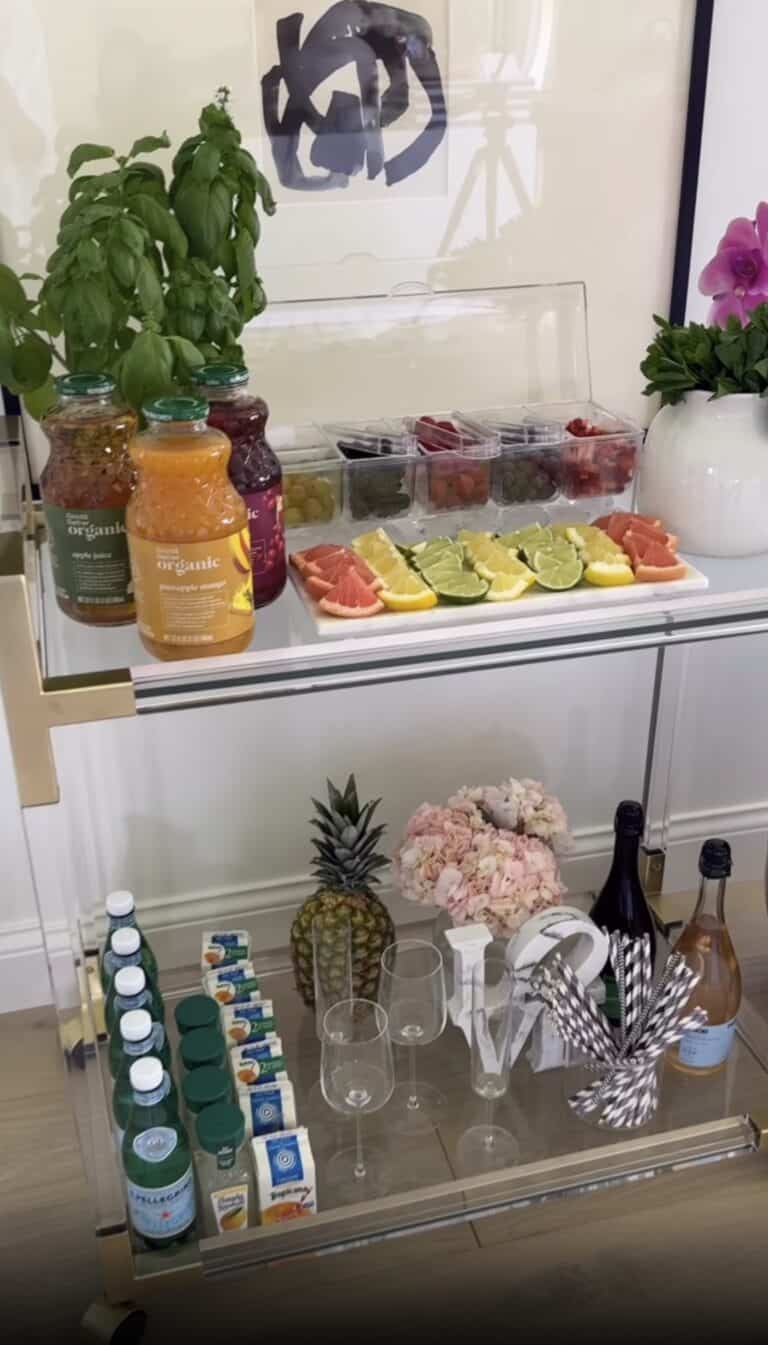
Step 3: Countertop Considerations
This is the detail that separates a “dresser with bottles on it” from a “bar.” You need a surface that can handle a spill.
If you are repurposing a wooden piece, you have to protect it. Alcohol ruins wood finishes faster than you can say “martini.”
You have a few options:
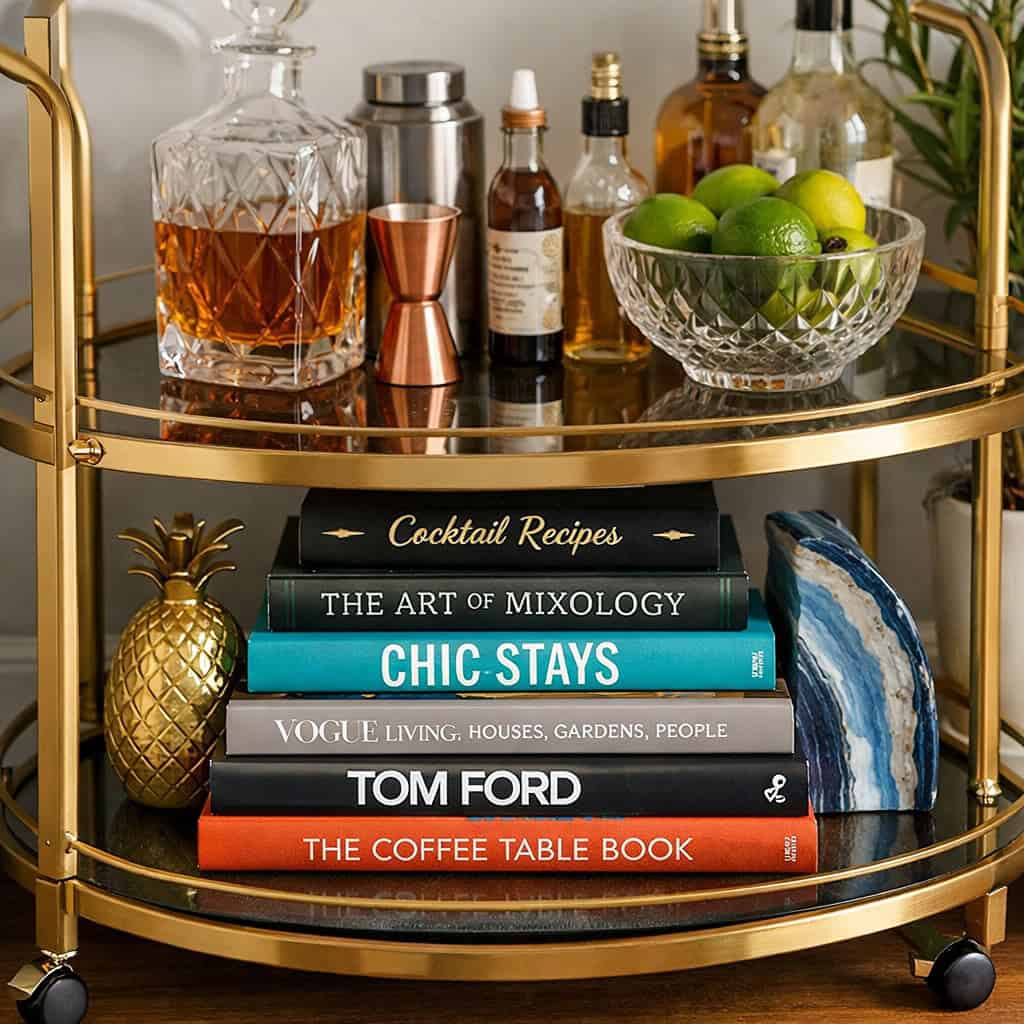
- Glass Top: Get a piece of tempered glass cut to fit the top of your furniture. It’s sleek and wipeable.
- Stone Slab: Check local stone yards for “remnants”—leftover pieces of marble or quartz from kitchen renovations. You can often get a small slab for cheap. Placing a heavy piece of marble on top of a thrifted cabinet instantly elevates the look to “luxury.”
- Tray Containment: If a new top isn’t in the budget, use large, waterproof trays to define the mixing zone.
>> Essential Bar Cart Inspo: 5 Timeless Themes That Never Go Out of Style
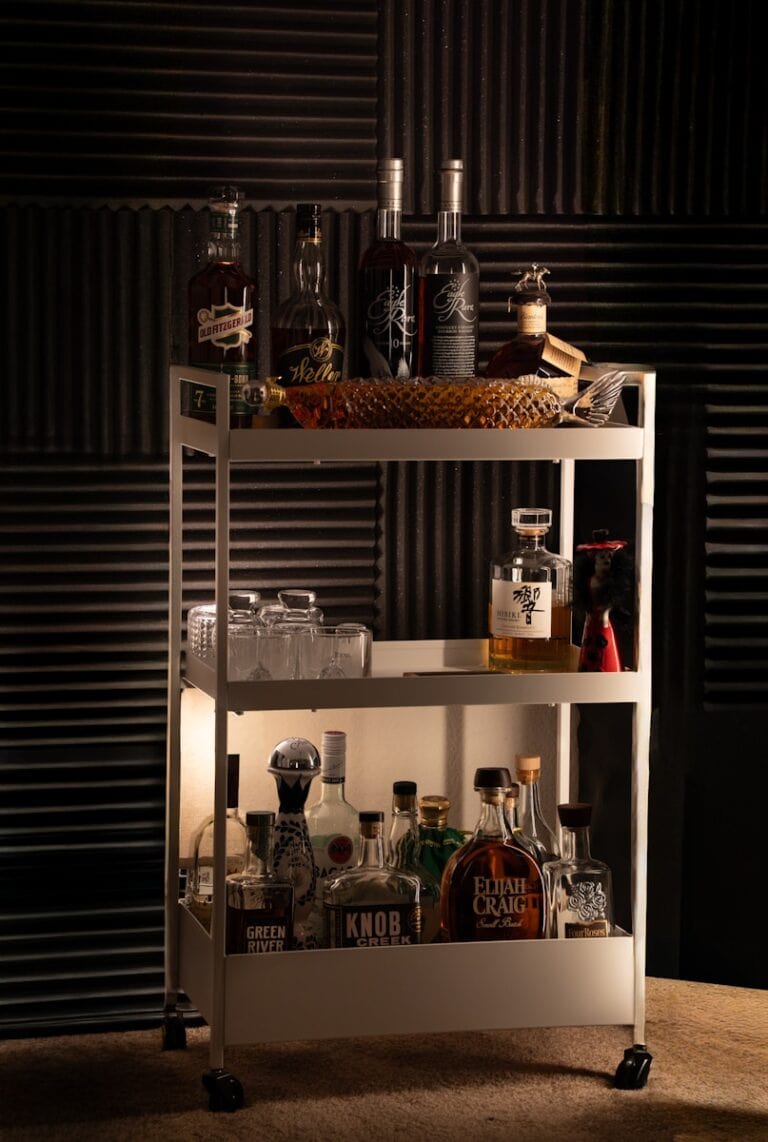
Step 4: Storage Solutions that Make Sense
A bar is 50% aesthetics and 50% logistics. You need a place for the ugly stuff.
- The Wine Rack: Don’t let wine bottles roll around. If you are building shelves, create an “X” divider for bottle storage. If you are using a cabinet, install a simple wire rack inside.
- Hanging Stemware: This is a classic bar look for a reason. Install under-shelf racks for your wine glasses. It frees up shelf space and keeps dust out of the bowls of the glasses.
- Drawer Organizers: If your unit has drawers, use them for tools. But don’t just throw everything in there. Use dividers for your bottle openers, wine keys, and coasters. It feels incredibly satisfying to open a drawer and see everything in its place.
Step 5: Lighting the Mood
Lighting is the secret sauce. You can build the most beautiful cabinetry in the world, but if it sits in a dark corner, nobody will care.
You need “jewelry” lighting.
- Puck Lights: Stick battery-operated LED puck lights under your shelves to illuminate the bottles below. It makes the liquid glow and look expensive.
- Picture Light: Install a brass picture light on the wall above your bar area. It creates a focal point and adds that library-chic vibe.
- The Lamp: Never underestimate a small table lamp. If you have counter space, a small lamp with a warm bulb creates an inviting pool of light that beckons guests over.
Step 6: Personalizing the Decor
Now for the fun part. A DIY bar should scream you.
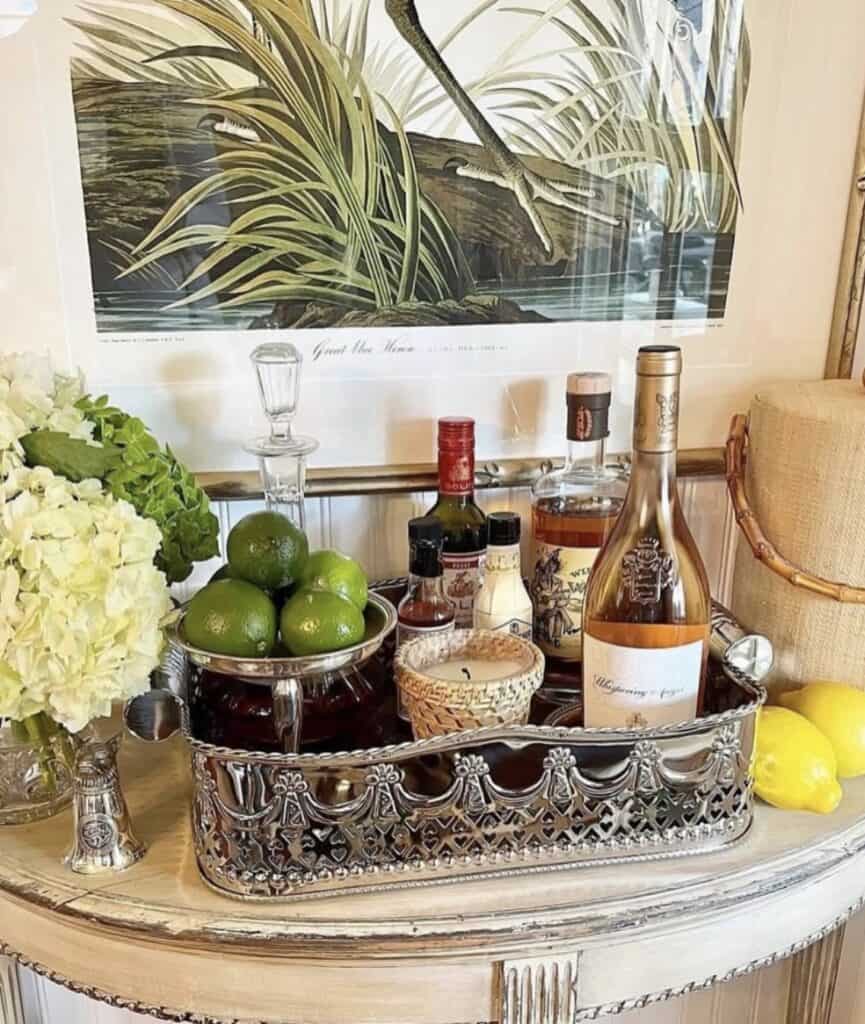
Don’t just fill it with alcohol. Add art. Lean a framed print against the back wall. Add a mirror to double the visual depth (and check your teeth for lipstick). Add a plant to bring some life to the hard surfaces.
I love to include a “menu” board. Paint a small section of the wall with chalkboard paint or frame a printed list of “House Cocktails.” It helps guests know what to ask for and takes the pressure off you to rattle off ingredients all night.
Why DIY is Better Than Buying
Building your own station gives you something a store-bought cart never can: perfect fit. You can tailor the height to your reach. You can paint it to match your sofa. You can choose hardware that matches your kitchen knobs.
It becomes a permanent part of your home’s architecture. It says, “I live here, and I plan to stay a while.”
So, grab that tape measure. Scour the flea markets. Look at that empty alcove with fresh eyes. Your dream bar isn’t in a catalog; it’s waiting for you to build it.
Once you have your structure built and painted, you will need to fill it. If you need guidance on how to arrange your bottles, mix your metals, or choose the right glassware to display on your new shelves, check out our professional bar cart styling advice to give your DIY project that final polish.