




10 Christmas Village Display Ideas for Your Home
This post may contain affiliate links. Please see my disclosure policy for details.
Tiny glowing windows, snowy rooftops, little shops you almost wish you could step inside… Christmas villages have a way of making you stop and look. And then look a little closer, because someone has probably tucked a tiny snowman or a miniature Christmas tree between the houses.
But once those houses come out of their boxes, there’s the question of where to put them. Especially when your collection has quietly grown from a few buildings into an entire town. Those little residents need some real estate!
You can give a Christmas village its own tabletop, work it into furniture you already have, or build upward when space is tight. These Christmas village display ideas offer a mix of small arrangements and larger setups, with practical ways to make each one work in your home.
Christmas Village Display Ideas
1. Turn Bookshelves into Little Village Streets
Bookshelves give a Christmas village something a flat tabletop can’t: several streets stacked above one another. You can arrange a small group of houses on each shelf, leaving enough room for trees and a few figures rather than squeezing every building into one long row.
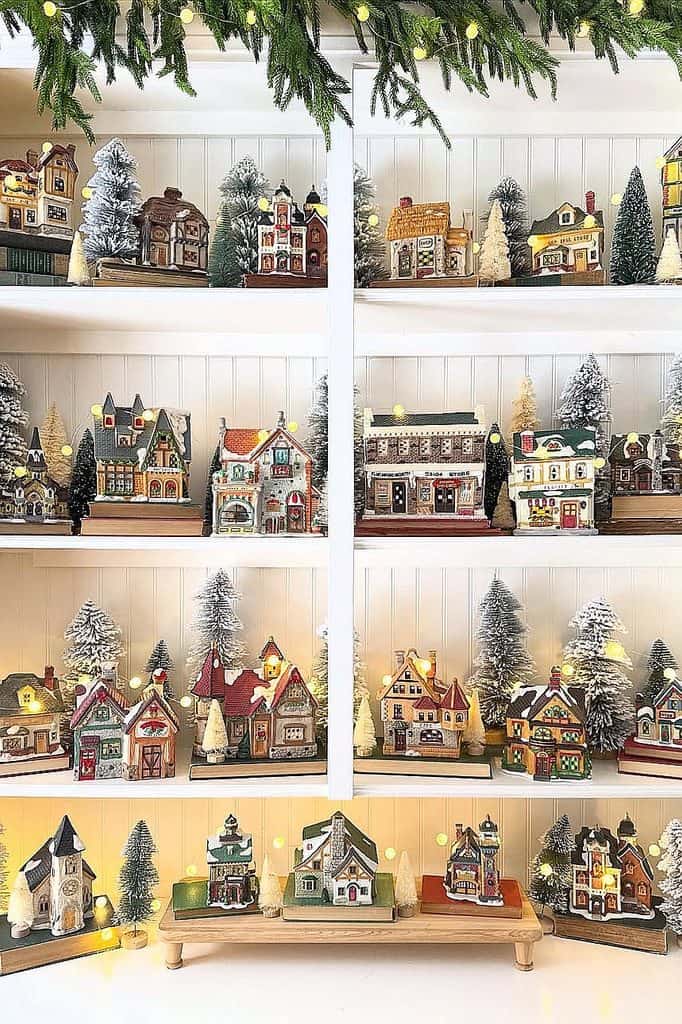
Photo by jennsperfectfinds
For a fuller display, temporarily clear a few shelves and let the village take over. Place taller buildings toward the back and smaller pieces in front so the details remain visible. A little space between groups makes it easier to appreciate each scene.
You can also keep your books in place and tuck houses among them. A short stack of books becomes a platform for a favorite building, while the rest of the shelves still feel like part of your everyday home. This is a lovely option if you want Christmas decorating without completely emptying the bookcase.
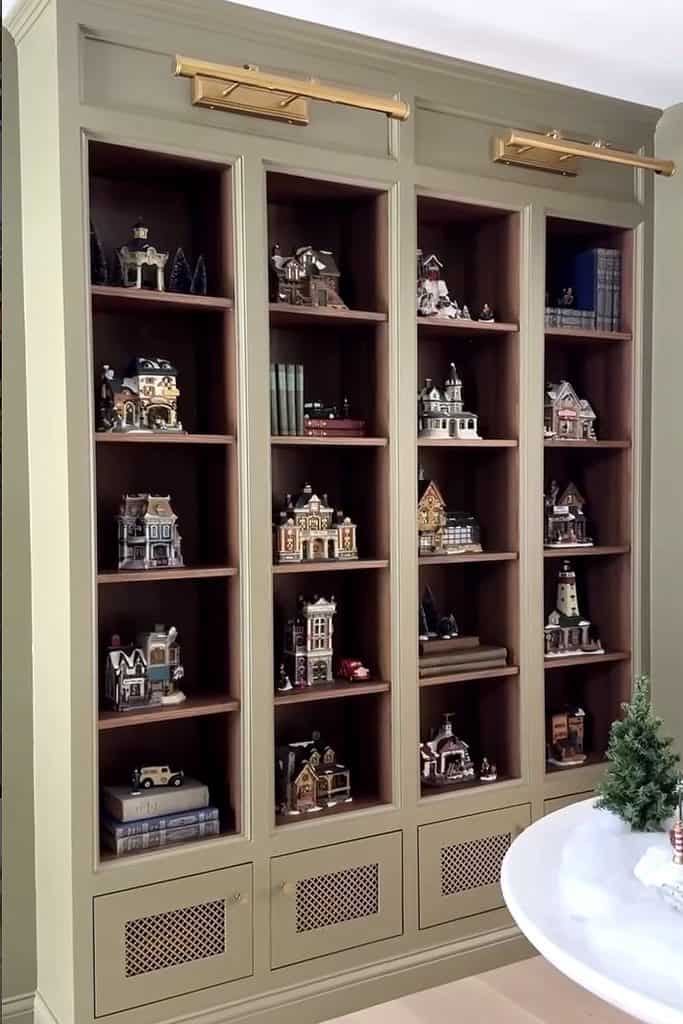
Photo by thelksaddress
2. Fill a Hutch with a Christmas Village
A hutch makes a wonderful home for a larger collection. Its shelves frame the houses, and you can give each level its own little scene: shops on one shelf, homes on another, and a church or town square somewhere it can stand out.
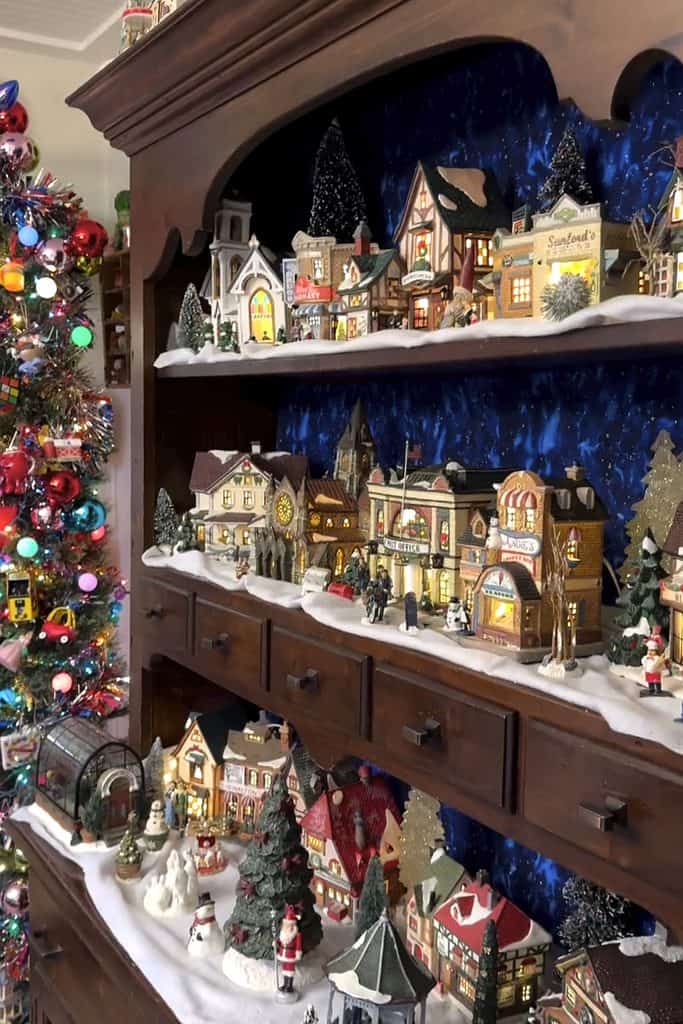
Photo by crepe_myrtle_row
For a snowy village, carry a white snow blanket across the shelves to connect the different levels visually. You don’t have to cover every inch. Leave firm, level spots for the buildings, then arrange the snow around their bases.
Or skip the snow and mix the houses with dishes, books, and bottlebrush trees. The display below shows how colorful and white houses can sit comfortably among other decorative pieces. A garland across the top helps dress the whole piece of furniture for Christmas.
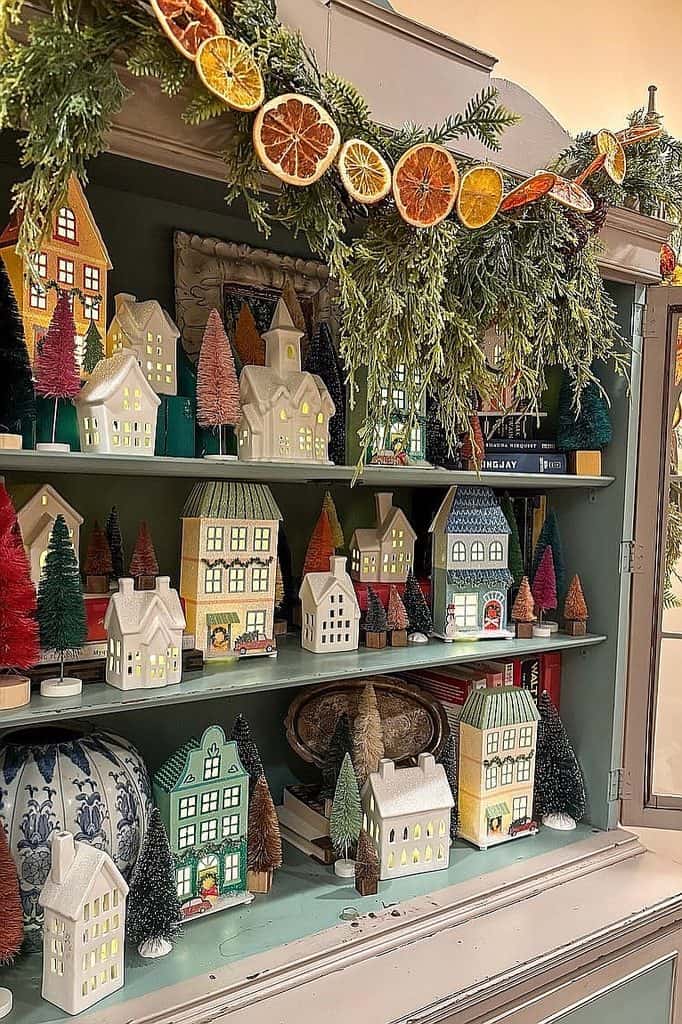
Photo by michaelsstores
3. Line a Window Ledge with Christmas Houses
A deep window ledge is practically asking for a little village. The houses can stretch across it like a street, with the window providing a backdrop that doesn’t require extra decorating supplies. Start with the largest buildings, then fill the gaps with smaller houses and trees.
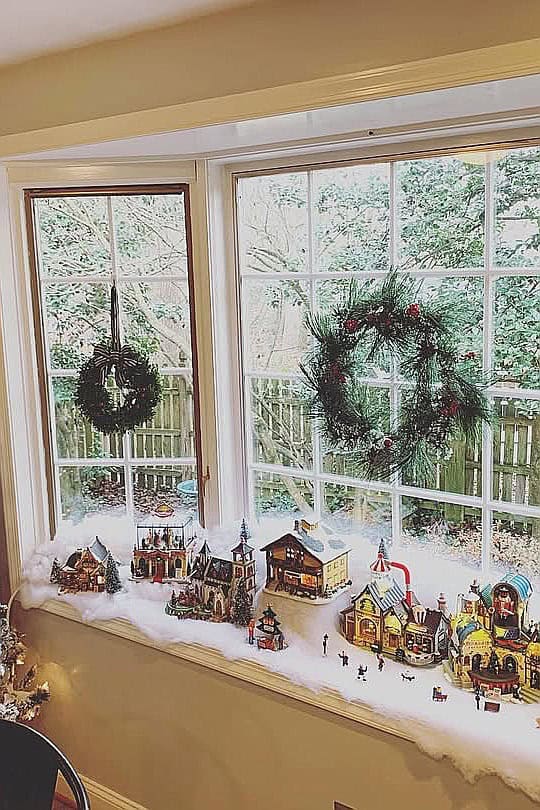
Photo by fabsixhome
A wide ledge gives you room for snowy landscaping and little figures. If yours is narrower, simplify the arrangement to a row of houses with greenery along the front. Check the depth of the buildings first so their bases sit fully on the ledge.
White houses paired with greenery make a quieter display, while a colorful collection creates more of a bustling little town. Both work beautifully here. Choose the approach that suits the pieces you already own.
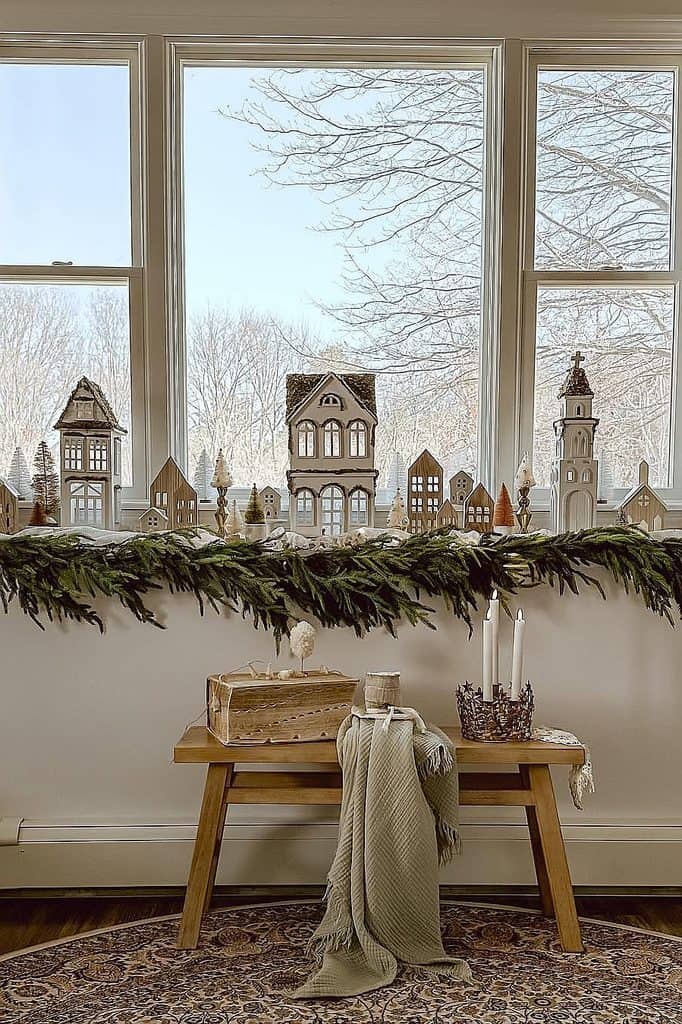
Photo by thecottagejournal
4. Create a Village on a Sideboard or Console Table
A sideboard gives you a long surface for arranging a village without taking over your dining table. Let the houses form a loose street, placing some slightly forward and others farther back. Even that small adjustment adds depth and keeps the display from looking like a lineup.

Photo by atomicemporium
Keep a favorite mirror, lamp, or framed picture in place if it works with the arrangement. Those everyday pieces help the village feel connected to the room. You can then add a strip of snow beneath the buildings or drape greenery along the front of the furniture.
For a simpler version, use white houses with just a few dark green trees. There’s no need for dozens of accessories when the shapes of the buildings already provide plenty to look at. Leave some breathing room around taller decorations so they don’t hide the little rooftops.
Photo by timberandhive
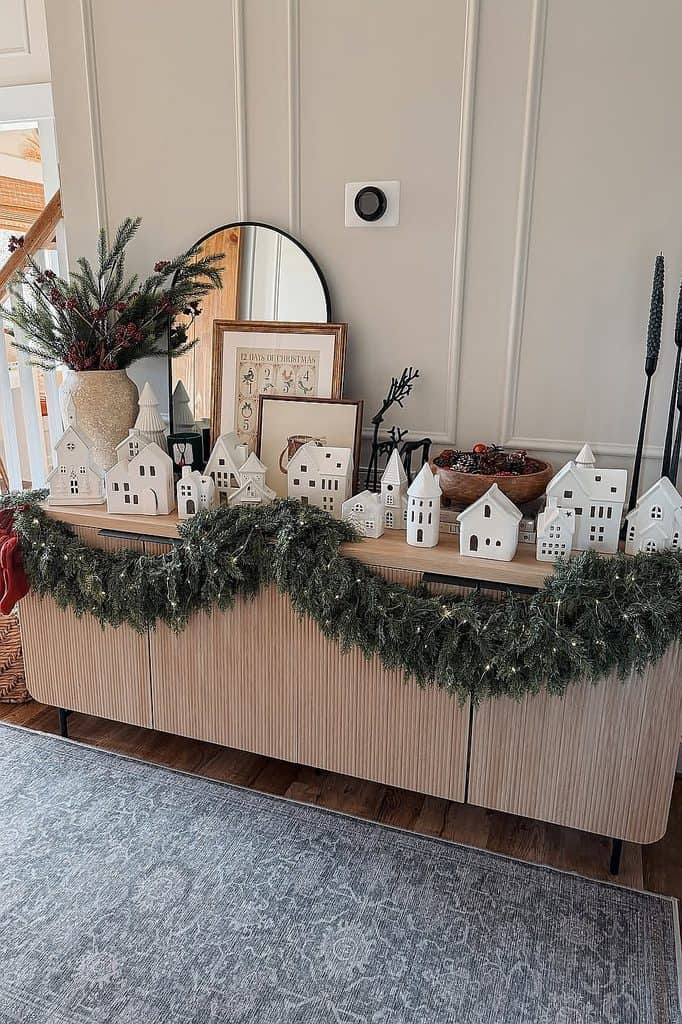
5. Make a Small Village on a Tray
You don’t need a whole town to make a sweet Christmas display. Two or three houses on a tray can give a coffee table or side table its own little village. The tray creates a clear boundary, which helps a small collection look like an intentional arrangement.
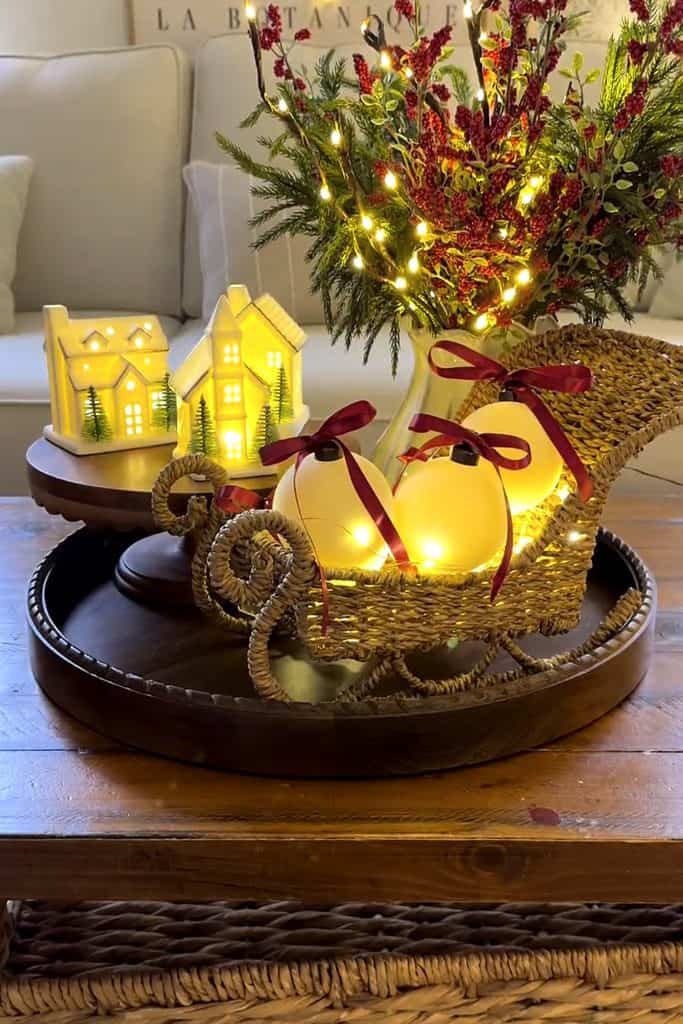
Photo by merryvibesonly
Try pairing your houses with a miniature tree, a few ornaments, or a small seasonal arrangement. A sturdy pedestal can lift one house above the others, provided its base fits securely. Keep the accessories selective so the houses remain the main attraction.
This is also a manageable place to start if you’re building a collection slowly. A few favorite pieces are enough. You can always expand the neighborhood next Christmas.
6. Give a Village Its Own Freestanding Shelf
A freestanding shelf lets you create a dedicated display without rearranging a built-in bookcase or china cabinet. A shallow unit works especially well for houses that look best from the front, giving each shelf a clear view of the little buildings.
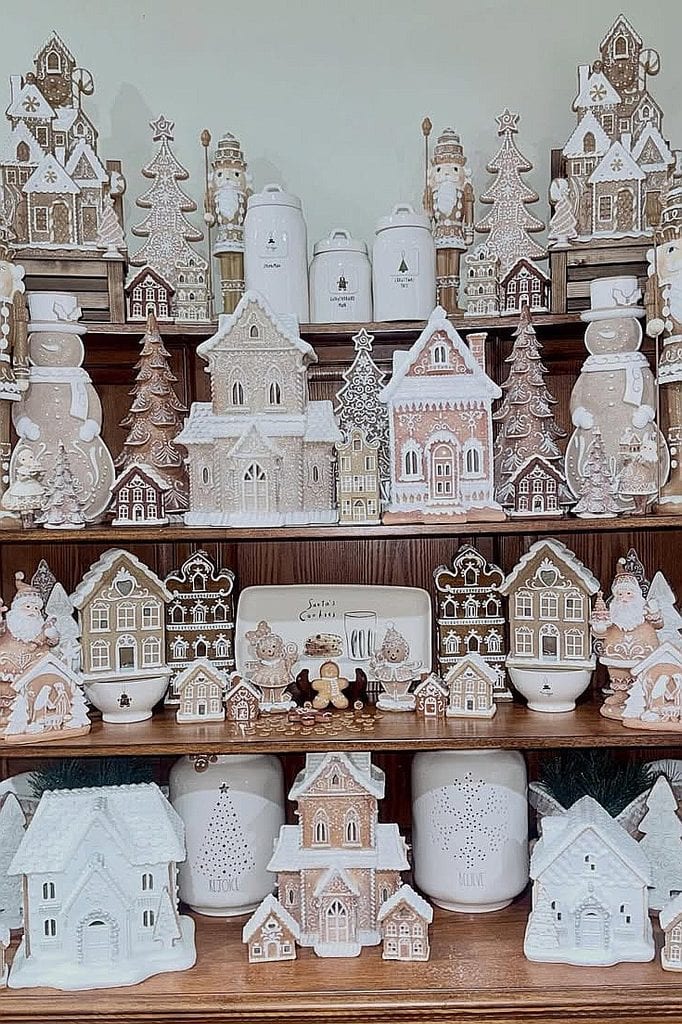
Photo by dunnerloverhunter
Arrange the tallest pieces where they have enough clearance, then group smaller houses with trees and other decorations. Repeating a few colors across the shelves helps tie everything together. The pale houses and trees in this example show how much variety you can have within a soft color palette.
Before filling the shelf, check that it’s sturdy and positioned where people won’t brush against it. Leave access to switches or battery compartments on lighted pieces; future you will appreciate that little bit of planning.
7. Build Upward with a Tree-Shaped Village Stand
When a collection starts spreading across every available surface, a tree-shaped stand offers another direction: up! Its graduated levels give you several places to arrange houses while keeping the village within one area of the room.
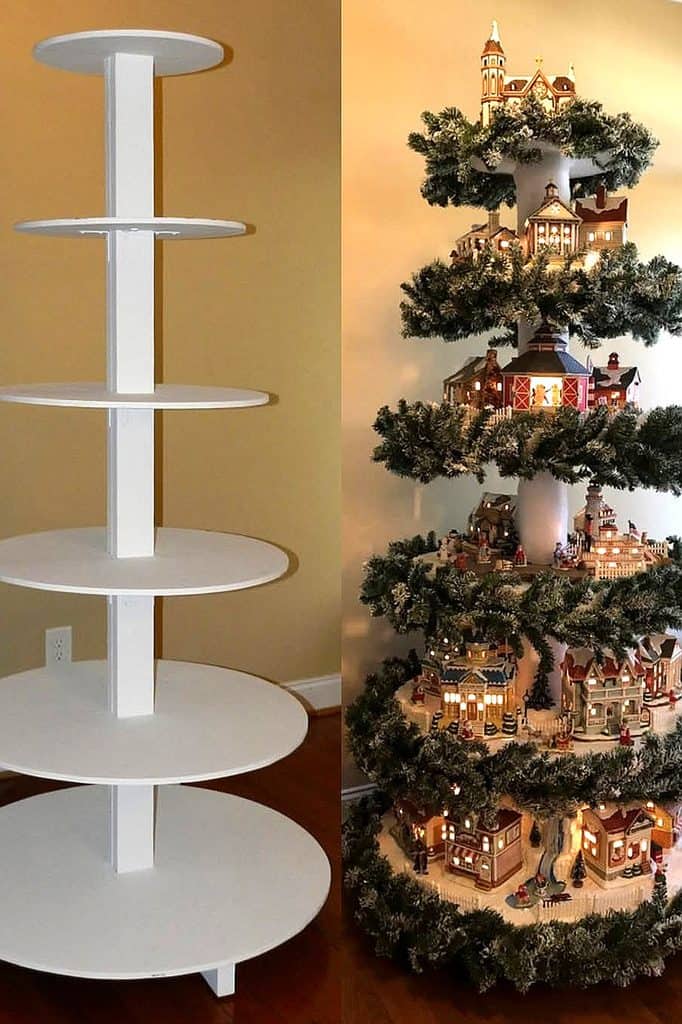
Photo by hotwirefoamfactory
Put larger buildings on the wider lower tiers and smaller houses toward the top. Greenery around the edges emphasizes the Christmas tree shape and helps soften the platforms. Leave the fronts of the buildings visible so the garland doesn’t swallow up all those tiny details.
You could create little neighborhoods on each level or let a winding arrangement of houses and trees connect the tiers visually. Plan the lighting before you finish decorating so cords can follow the support structure instead of hanging across the scenes.
8. Arrange a Village Beneath the Christmas Tree
The space beneath a Christmas tree can become a miniature town, with the branches forming a festive canopy above it. Arrange buildings around the base, turning their fronts toward the parts of the room where people will see them.
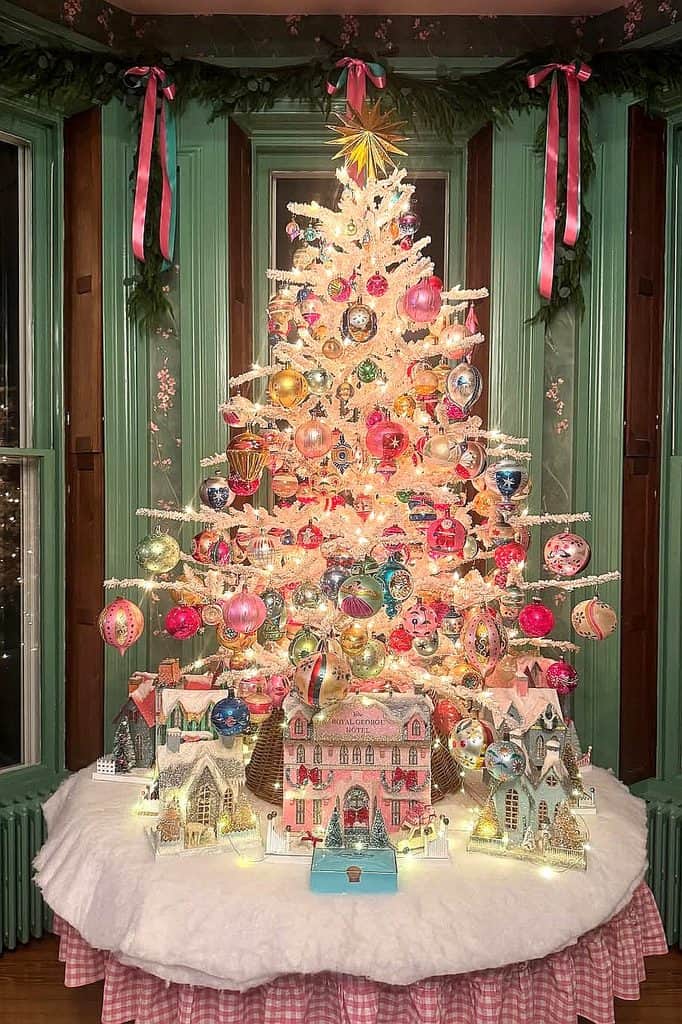
Photo by theriverwoodhome
The example here combines a Christmas tree and village on a raised, skirted display. You can adapt the idea beneath a floor-standing tree, too. Keep buildings clear of low branches and leave room to reach the tree stand if it needs watering.
Decide where presents will go before setting up the village. Leaving one side open for gifts saves you from relocating half the town on Christmas Eve. And if the tree is in a busy spot, keep delicate pieces farther from the edge.
9. Use a Ladder Shelf for a Tiered Village
A ladder shelf creates a display that opens out as it reaches the floor. The narrower upper shelves suit a few small buildings, while wider shelves below can hold larger houses and more scenery. It’s an especially useful shape for filling an otherwise quiet corner.
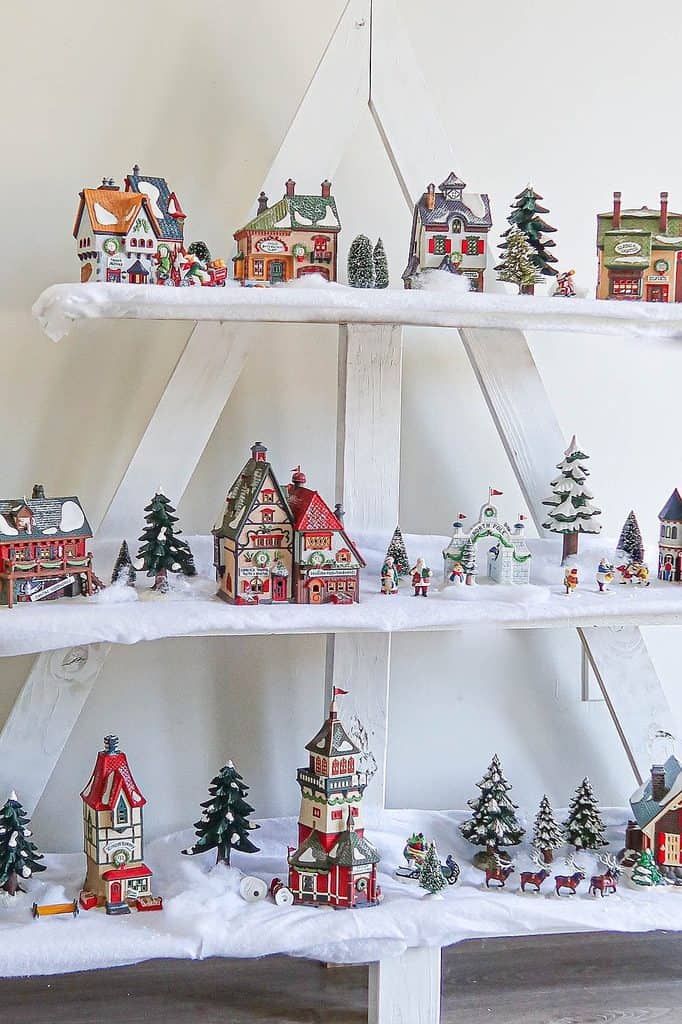
Photo by repurposeandupcycle
Give each shelf a small scene rather than trying to fit the same number of houses on every level. A church with a few trees might fill one tier, while a row of shops fills another. Carrying the same snowy base through the display makes those separate scenes feel like parts of one village.
Use a shelf designed to hold decorative objects securely, and check the height between tiers before choosing your buildings. Tall steeples need a little extra room!
10. Build a Christmas Village Around a Train Track
A train track gives a larger village a natural layout to build around. Place houses inside the loop, then use trees, figures, and small scenes to fill out the surrounding landscape. The track becomes the route through the town rather than an accessory squeezed in at the end.
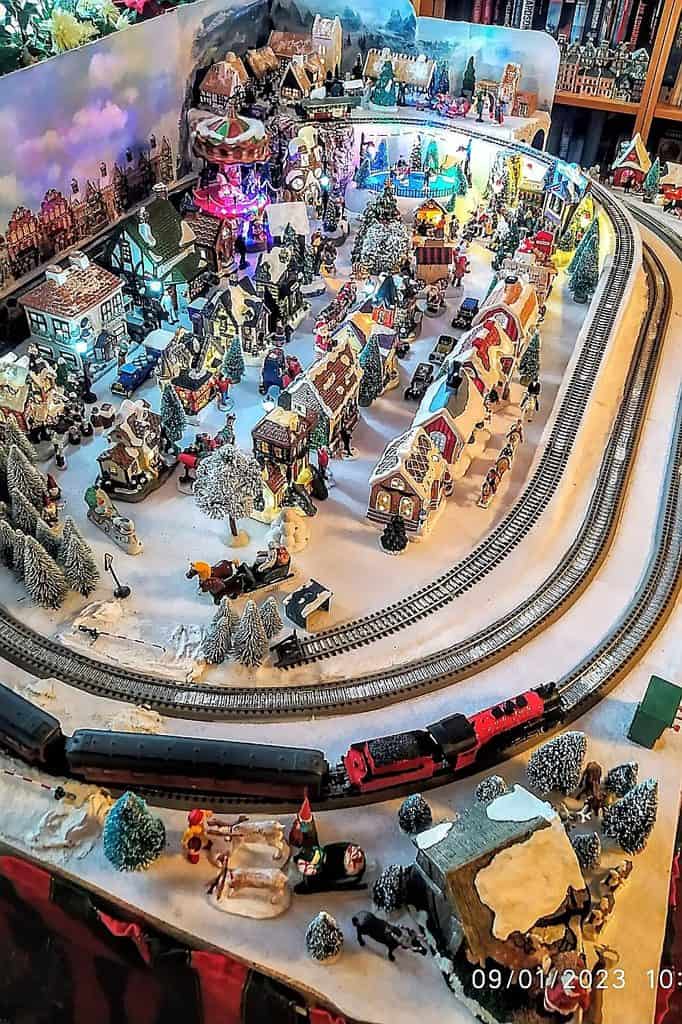
Photo by evadavidsson9
Start with the track and test the train before adding buildings or snow. You’ll want enough clearance beside the rails and room to reach anything that needs adjusting. Keep loose scenery away from moving parts.
This kind of display can be detailed, but it doesn’t have to begin that way. A simple loop, several houses, and a cluster of trees give you a starting point. Add little scenes as your collection grows instead of feeling you need to build an entire miniature world in one afternoon.
Finding the Right Spot for Your Christmas Village
Before unpacking every house, choose a spot and check its depth, nearby outlets, and how much room you need for everyday life. Setting the buildings out first, before adding snow and greenery, makes it much easier to shuffle things around.
And you don’t have to display every piece you own. A few houses arranged where you can enjoy their details may be more satisfying than a crowded setup you barely get to see. Give your favorite buildings a good spot, switch on those little lights, and let the village settle in for Christmas.